Installing a range hood in your kitchen can improve air quality, reduce heat, and keep your space clean. If you want to cook often, a range hood is a smart investment: it helps remove smoke, steam, and cooking smells. In this guide, we’ll share everything you need to know about range hood installation; we’ll keep it simple and helpful — just like a friend would explain it.
Why Install a Range Hood?
It pulls air through a filter and sends it outside or recirculates it. This keeps your kitchen air fresh. Many people don’t realize how important it is until they use one. It helps in many ways:
- It removes odors from your cooking.
- It clears out grease before it lands on cabinets.
- It keeps the air safe by reducing smoke and harmful particles.
- It adds style and value to your kitchen.
If you cook every day, you’ll notice a big difference right away.
Choose the Right Range Hood
There are a few types of devices, and each one fits different kitchen layouts and budgets. Here are the most common ones:
- Under-cabinet range hoods go under kitchen cabinets. They’re compact and work well in smaller spaces.
- Wall-mounted ones attach to the wall above the stove; they make a bold statement and have strong suction.
- Island hoods hang from the ceiling and work above a kitchen island.
- Ductless ones use filters to clean the air and return it to the room.
- Ducted hoods push air outside through a vent.
Think about how much you cook and where your stove is located. These things will help you choose the right hood.
What You Need Before Installation
Before you mount the range hood, make sure you have the tools and space ready. Here is a quick checklist:
- Measure the space above the stove.
- Decide if you want a ducted or ductless hood.
- Check if you have an electrical outlet nearby.
- Buy the right size device (usually 30 or 36 inches).
- Gather tools like a drill, screws, measuring tape, and a level.
You may also need ductwork and a wall or roof cap if your hood vents outside; make sure to turn off the power before starting any work.
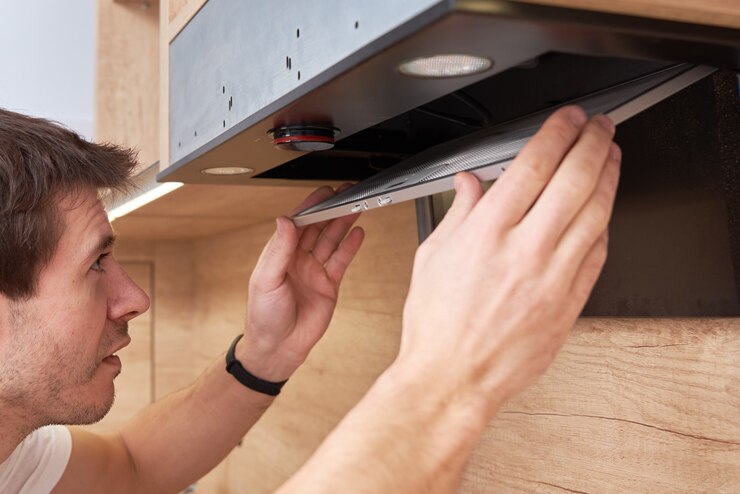
Step-by-Step Range Hood Installation
Every gadget is a bit different, but the basic steps are similar:
- Mark where the hood will go. Use a level to make sure it’s straight.
- Drill holes for mounting screws and, if needed, for ductwork.
- Install the mounting brackets or support system.
- Lift the device into place and secure it with screws.
- Safely connect the electrical wires.
- Attach the duct to the hood and the vent cap.
- Test the fan and lights to make sure everything works.
Always follow the manual that comes with your range hood. If you don’t feel comfortable with the wiring, call a professional.
Onefservice Can Help
It is not always easy to install a range hood; so if you want peace of mind, let us do the job for you: at Onefservice, we specialize in installation and appliance repair in New York City, Brooklyn, Queens, Staten Island, and Long Island. Our expert team knows how to mount all types of household devices safely and quickly.
We always arrive on time, work scrupulously, and leave your kitchen better than before. If it’s a simple under-cabinet hood or a large island unit, we’ve got your back.
Final Thoughts
A range hood is more than a kitchen accessory; it keeps the air fresh, protects your home, and adds style to your space. With the right planning and help, you can enjoy the benefits without stress. If you’re not sure where to begin, give us a call. Onefservice is always ready to help with household appliance installation in NYC.